失效分析實驗室
Measurement
- Encapsulant: Incomplete fill/Wire sweep/Warpage/Delamination/Void
- Flux: Flux residue/Outgassing/Corrosion
- TSV: Delamination/Crack/Void/Non-protrusion
- Micro-bump: Crack/Void/Cold joint/Bridge
- Substrates: Warpage/Contamination/Crack
- Leadframe: Contamination
- Interposer: Delamination/RDL bridge/Contamination
Reliability
Non-Destructive Analysis
- Non-destructive analysis is the first step of failure analysis.
- There are the technologies to detect the defects without damaging samples and which including two parts.
- One is electrical test and the other is failure observation and localization. Electrical testing machines are function test, O/S test, curve tracer and so on.
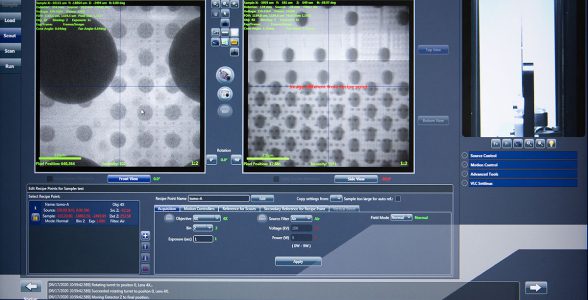
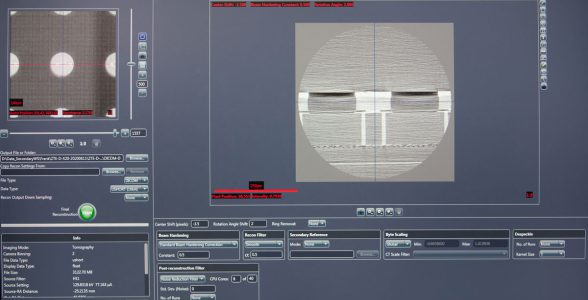
- The failure observation toolings are HR-OM, IR OM, X-ray, SAT, etc
- The failure localization toolings are TDR, OBIRCH, thermal lock-in, etc.
| Electrical Test | TDR、Probing station、Curve tracer、DCT |
| Inspection Analysis | OM、X-ray、SAT、Hi-resolution OM、IR-OM |
| Surface Analysis | EDX |
| Structure Analysis | W-SEM、FE-SEM、Table SEM |
| Failure Localization | Lock-in thermography、OBIRCH |
Destructive Analysis
- After non-destructive analysis, the defect location can be determined.
- The destructive samples preparations before observation are also call destructive analysis.
- The most common uses are cross-section, ion milling, PECS, FIB, and etc.
- Furthermore, SEM, EDX, XPS and ESCA could observe the failure or the defects.
| Structure Analysis | X-section、FIB、TEM、P-FIB |
| Surface Etch/Treatment | Ion miller、PECS、FIB |
